

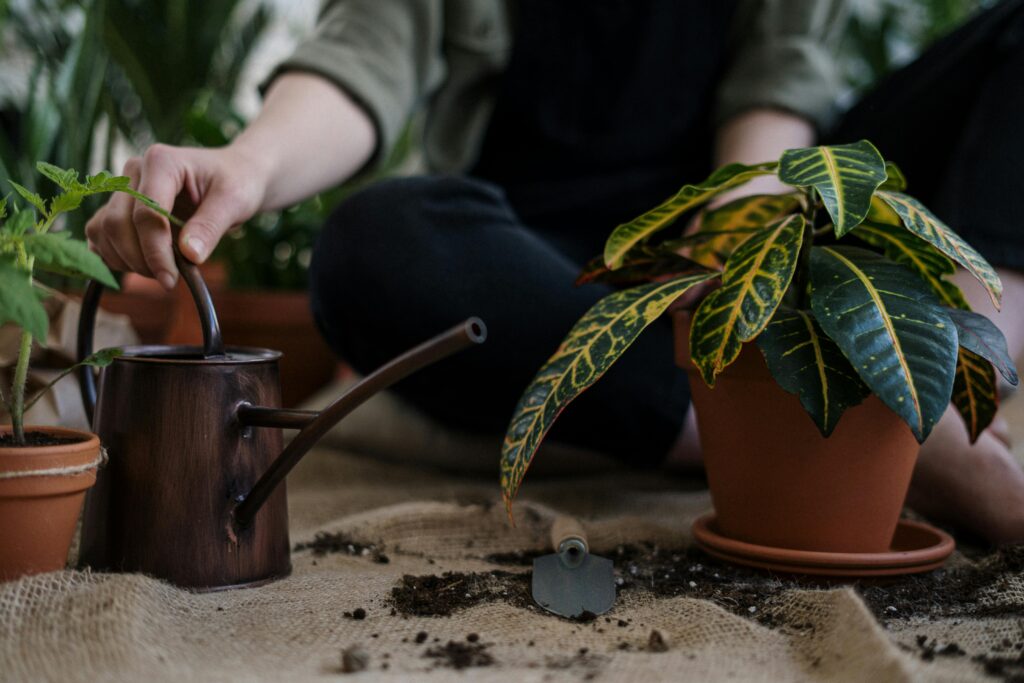
You’ve worked really hard to grow these little plants, but now they are starting to outgrow their initial potting area. It’s time to transplant them! They might be transplanted into larger pots or the ground, depending on what type of gardening you are doing, but the basic transplanting process stays the same. Let’s go over how to do it.
Preparation
First you are going to want to prepare the new space for the transplant. Make sure there is a hole in the dirt (either in the new container or the ground) that is large enough and deep enough to hold the transplant. I like to place my old container inside the hole so that I have a good idea if it will work. Making it a little too wide is better than trying to cram the seedling into a space that is too small.
Removal
First you will need to remove the seedling from its container. I like to very gently press around the outside of the container to make sure the plant is not going to be difficult to get out. Be very gentle so you don’t damage the plant. Then turn the container on its side or even upside down to remove it from the container. If the plant is stuck, you can gently work it out at this point. You are wanting to be holding the dirt, not the plant stem, so be sure your hands are at the base of the plant.
Planting
Place the seedling into its new home and fill in any extra empty space with soil. Press firmly down on the soil to make sure there aren’t any air pockets, but don’t squish the plant. Once you are satisfied, water the plant thoroughly. It is normal for the plant to droop a little for a day or so after being transplanted, but it should perk right back up soon.
Keep an eye on your newly transplanted seedling to make sure it is adjusting well. You may need to baby it a little bit for a few days, but then it will be off and growing up to be big and strong.
What do you like to do after a seedling is transplanted?