

We’re finally ready to cut out the pattern pieces! The Big 4 pattern makers include multiple sizes in a single envelope. The pattern pieces are printed on a sort of tissue paper that is folded up to fit into the envelope. It’s kind of fragile, so be gentle with the pages.
The first thing I do is to make sure that all of the pattern pieces are present. Remember, the instruction booklet gives you a list, so you can compare to be sure everything is there. The pattern pieces are numbered, so they are fairly easy to find. They aren’t laid out in numerical order though, so be sure to check all pages to find them all.
Once you have confirmed all pieces are there, I like to next roughly cut out the pieces I need for the view I am making. And by roughly cut out, I mean just separate the page into separate pieces. I am not cutting on any lines, I’m simply making each pattern piece into its own chunk. After this, I am going to iron the pattern pieces on a low heat, because they are super wrinkly and creased from being in the envelope. I do this after the rough cut because the pieces are more manageable to handle.
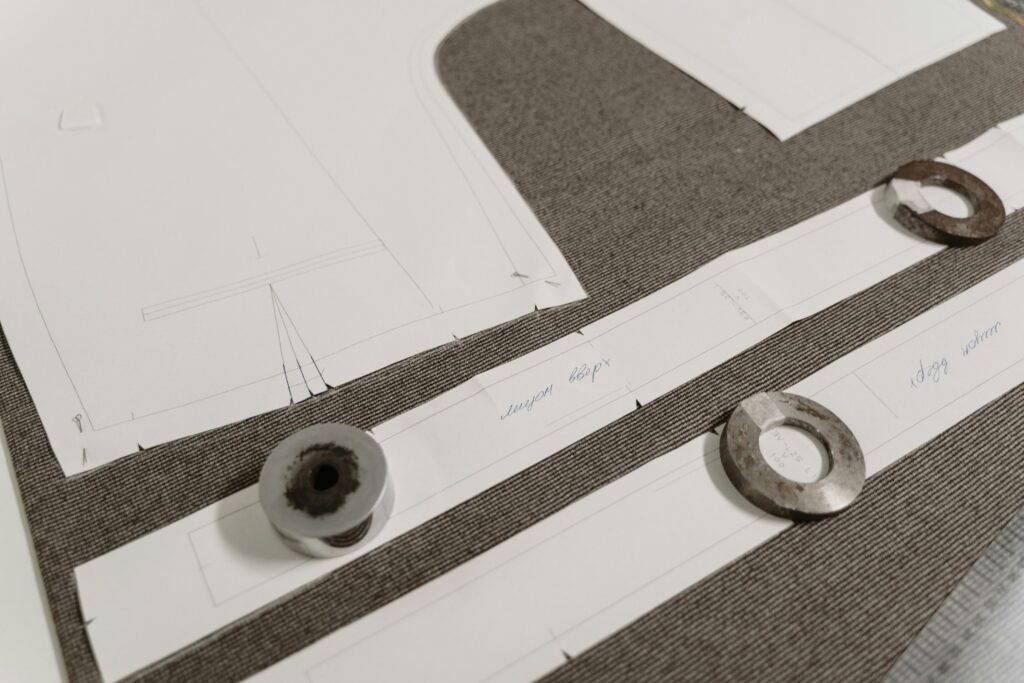
Next I need to more precisely cut out the pattern pieces, according to the size I need. We should have determined the correct size when purchasing the pattern, going by the sizes and measurements listed on the envelope. If you look closely at the pieces, you will notice that there are multiple lines around the edge of each piece. Each line has a number that corresponds to a size. You will cut out the pattern on the line for the size you need. Be careful, sometimes the lines weave in and out, so you can’t just always assume you’re supposed to cut on the second line (for example).
At this point, we have our pattern pieces all cut out and ready to go. You are going to want to take your time and be careful for all steps of this process, because it will impact your final product.
What sort of issues have you had when cutting out pattern pieces? I think I’ve done everything wrong at one point or another!